
Solana Program Library (SPL) tokens are the standard for fungible assets on the Solana blockchain. This tutorial walks through the full developer workflow to mint a token with the Solana CLI, from installing tooling to confirming the mint on chain.
Before You Start
- Mac, Linux, or WSL environment with terminal access
- A Solana wallet and keypair with a small amount of SOL for fees
- Node.js 18+ if you want to automate the process with scripts later
- Optional: a cold wallet to hold mint authority after launch
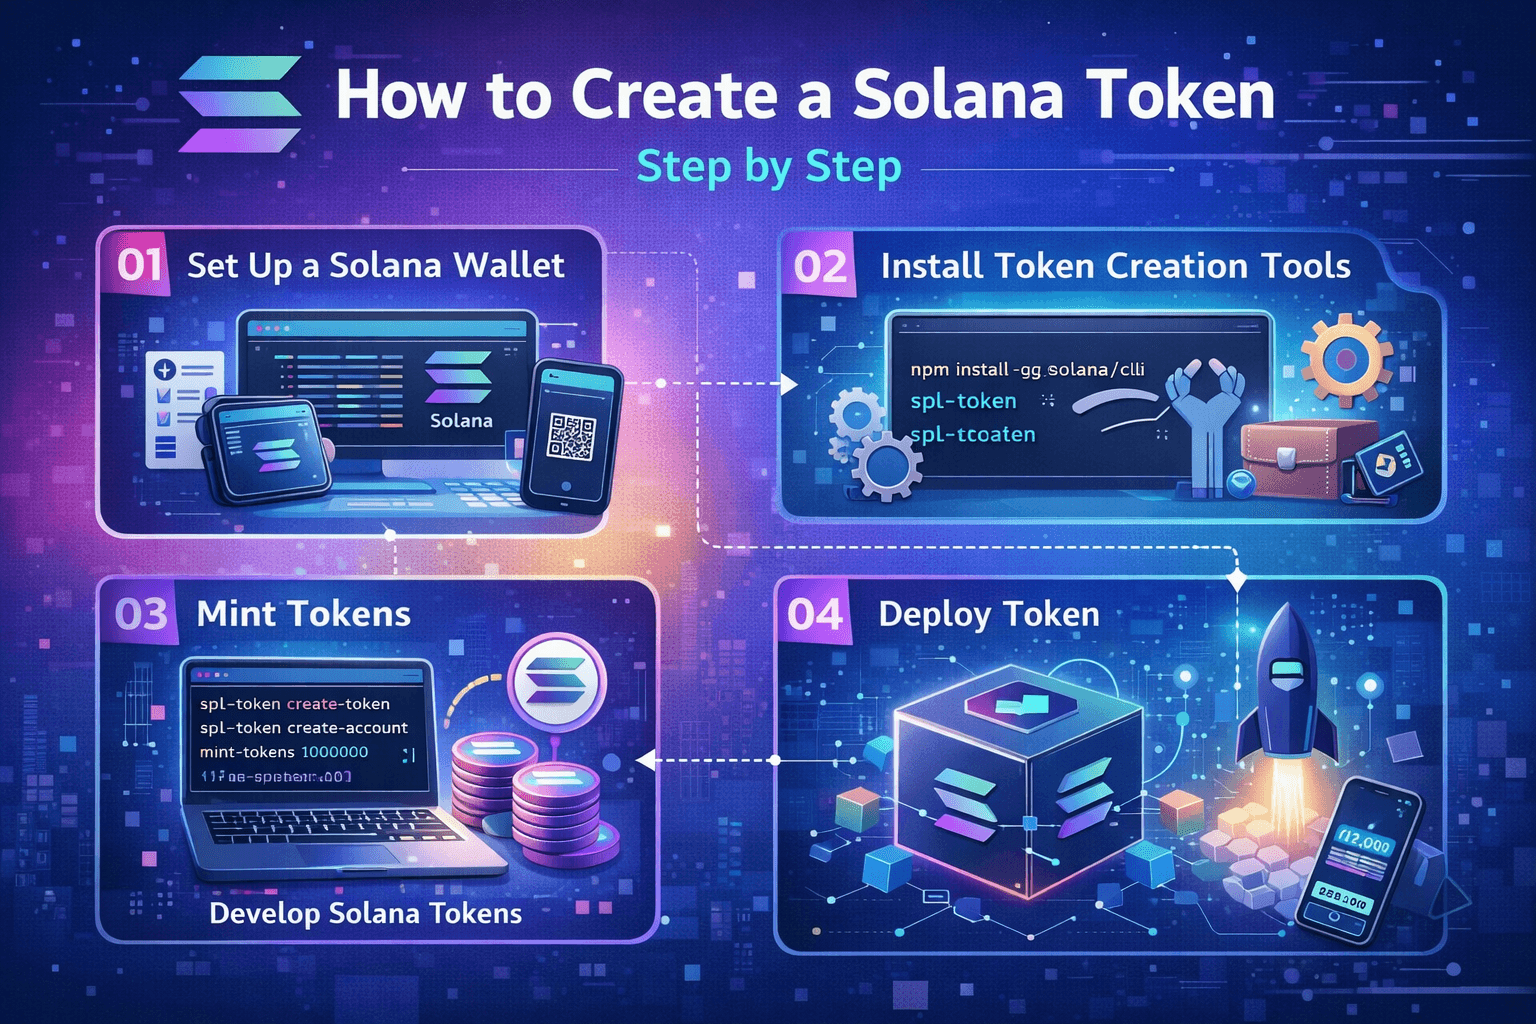
Step 1: Install or Update the Solana CLI
Install the CLI from the official installer and point it to the cluster you want to use. For testing you can stay on devnet; for production you will switch to mainnet-beta.
sh -c "$(curl -sSfL https://release.solana.com/stable/install)"
solana config set --url https://api.devnet.solana.com
solana-keygen new --outfile ~/.config/solana/devnet.json
solana config set --keypair ~/.config/solana/devnet.json
Run solana balance to ensure the wallet is funded. Use the devnet faucet if you are practicing.
Step 2: Install the SPL Token CLI
The spl-token command wraps Token Program interactions. Install it with the Solana installer or via Cargo:
cargo install spl-token-cliConfirm the install with spl-token --version.
Step 3: Create the Token Mint
Decide on decimals (commonly 6 or 9) and whether you want a separate freeze authority. Then run:
spl-token create-token --decimals 6 --enable-freezeThe command outputs the mint address. Save it somewhere safe; you will use it in every subsequent step.
Step 4: Create an Associated Token Account
Tokens live inside associated token accounts. Create one tied to your wallet for the mint you just created:
spl-token create-account <MintAddress>Step 5: Mint Initial Supply
Mint tokens into the account. Supply is expressed in base units, so include decimals (1000 tokens with 6 decimals is 1000000000 base units).
spl-token mint <MintAddress> 1000000000Check the balance with spl-token balance <MintAddress> to confirm the mint succeeded.
Step 6: Secure or Revoke Authorities
For production launches, move the mint authority to a multisig or burn it entirely to lock supply. The same applies to the freeze authority if you enabled one.
spl-token authorize <MintAddress> mint --disable spl-token authorize <MintAddress> freeze --disableAlternatively, transfer the authority to another wallet address you control.

Optional Next Steps
- Attach rich metadata using the Metaplex Token Metadata program
- List the token on your dashboard or analytics tools
- Automate supply management with scripts built on @solana/web3.js
FAQs
How much SOL do I need to create a token? On devnet the faucet covers fees. On mainnet you typically need under 0.05 SOL for the mint, freeze authority, and initial account creation, though costs vary with congestion.
Can I increase supply later? Yes—keep the mint authority in a secure wallet or multisig. When you are ready to fix supply, disable or transfer that authority so no further tokens can be minted.
How do I add metadata and a logo? Use the Metaplex Token Metadata program to attach a name, symbol, description, and icon. Hosting the image on Arweave or IPFS ensures it remains available to wallets.
Need a No-Code Route?
If you prefer a guided UI instead of the CLI, ourSolana Token Generatordeploys the same mint workflow with guardrails, validation, and analytics.
Need help with audits, integrations, or token utility? Reach out via thecontact form and the AppsBite team will follow up.